The Barely Legal, Dave’s Variation
Over this past summer I have been experimenting with articulated flies on our coastal rivers for rainbows, bulltrout, and even steelhead. Through experimentation and research I have fallen in love with Kelly Galloup’s “Barely Legal”. This fly is simply a fish catcher.
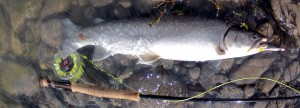
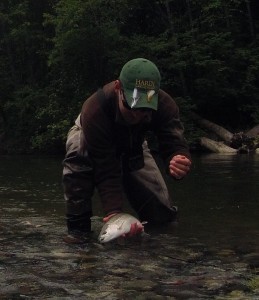
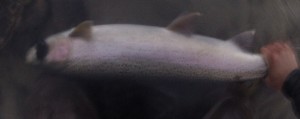
One night I came across Kelly Galloup’s series of articulated flies that he developed for meat eating brown trout in Montana. Immediately I saw the application for our coastal rivers, where all of our large fish tend to eat prey fish such as sculpins and juvenile trout. After good success on multiple species of fish I have found my box over-flowing with different colour variations of the “Barely Legal”. However, the sculpin olive and white combination has proven to be the best all around for me.
As mentioned in the title I state that I have put a slight variation on the pattern. The body material I use is UV Polar Chenille in pearl. I believe the original pattern calls for a shorter krystal chenille as the body material. I believe movement is the key to this fly. The Fish Skull head gives it that up and down motion while the articulation exaggerates the whole motion of the fly.
You will find the recipe and step-by-step instructions for this fly which I have truly enjoyed tying and fishing. I hope you do as well!
If you have any questions about the fly please do not hesitate to drop by Pacific Angler @ 78 East Broadway. Our shop has all of the necessary materials and tools.
Recipe
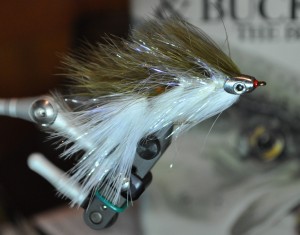
Hooks: Back hook, Mustad S71SZ – size 1 to 2; front hook, Tiemco 8089 – size 6
Hook-to-hook connection: Rio knottable wire, 20lb & red silver lined glass beads
Thread: Uni-thread 6/0, white & kevlar thread
Tail: White and sculpin olive blood quill marabou
Body: Pearl UV polar chenille
Collar/wing: White and sculpin olive blood quill marabou
Head: Fish Skull, small to medium (various collars)
Glue: Loon UV fly tying glue & Zap a Gap (thin)
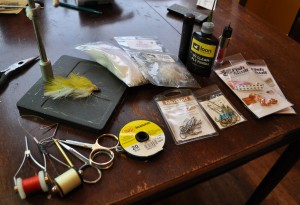
Step-By-Step Instructions
Step 1
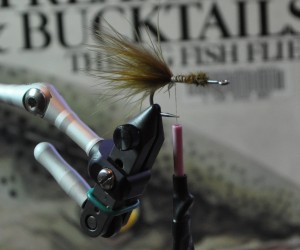
Lock a Mustad S71SZ size 1 or 2 into your vice. This will be your back hook of the articulated fly. Start your thread at the bend of the hook. Tie in a strand of sculpin olive marabou on the top of the hook by the tips (1.5 length of the hook shank).
Step 2
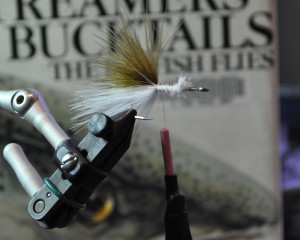
Tie in the same length as above on the bottom with white marabou. Secure the marabou to the shank of the hook and then cut.
Step 3
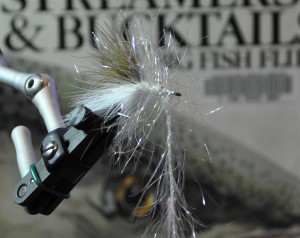
Tie in Pearl UV polar chenille by the tip at the base of the marabou tail. Palmer the chenille towards the eye of the hook. Stop an eye length before the eye of the hook. Secure and cut the chenille.
Step 4
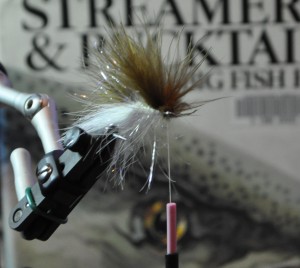
Tie in a piece of sculpin olive marabou by the tips. Make sure to taper it so that the tips are just past the base of the tail. Cut the excess after you secure the marabou with some good turns.
Step 5
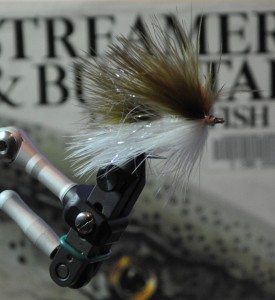
Tie in white marabou at the bottom of the hook with by the hooks. Again secure and cut close to the hook. Build up a small thread head, whip finish, cut and apply the Loon UV knot tying glue. You have now completed the back fly!
Step 6
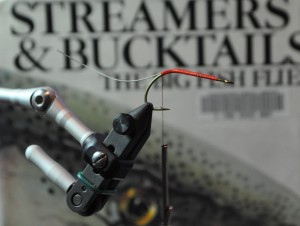
Fix a Tiemco 8089 size 6 to your vice. You will first use kevlar thread to secure the Rio knottable wire. Start the kevlar thread at the eye of the hook. Cut a length of Rio knottable wire and wrap the kevlar thread back to just past the point of the hook to secure the wire.
Step 7
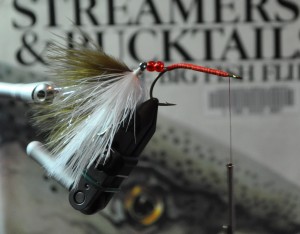
Thread Two red silver lined glass beads through the knottable wire and then through the eye of the hook of the back fly. Secure the wire by making wraps back to the eye of the hook. Once you have reached the eye of the hook whip finish and cut. Put a light dab of thin Zap-a-Gap onto the thread to secure both the thread and wire to make bullet proof against monster bulltrout and steelhead!
Step 8
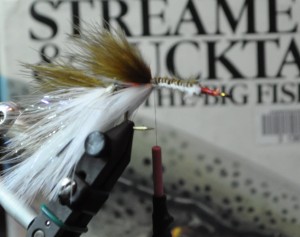
Tie in sculpin olive and white marabou similiar to the back hook.
Step 9
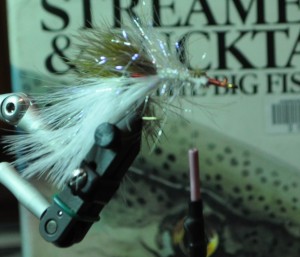
Tie in UV pearl polar chenille by the tip. Palmer forward to the mid-way position of the shank of the hook.
Step 10
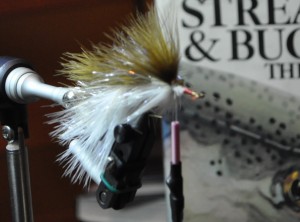
Tie in sculpin olive and white marabou as in previous steps. Make sure to taper the marabou so the tips lie just midway of the marabou behind it.
Step 11
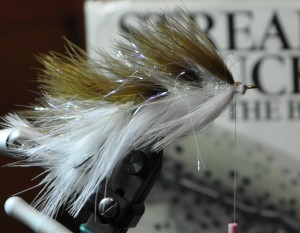
Tie in UV pearl polar chenille by the tip and palmer it to the eye of the hook just one eye length short. Tie in sculpin olive and white marabou as in previous steps. Secure the marabou and cut close to the shank of the hook. Build up a small thread head, whip finish and cut the thread. It is important to leave enough room (two eye lengths) so you can fit the Fish Skull onto the fly. Apply a generous amount of Loon UV glue onto the head of the fly. Fit the Fish Skull onto the head of the fly making sure it is oriented upright. Harden the glue by using the Loon UV light.
Step 12
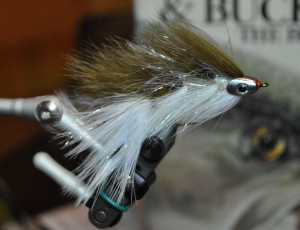
Start the kevlar thread in the front of the Fish Skull. Build up a small amount of thread to create a thread dam. Complete by doing a whip finish, cut and apply a small amount of Loon UV glue. Make sure to cut off the hook at the shank as per BC freshwater fishing regulations.
If you have any questions about the fly please do not hesitate to drop by Pacific Angler @ 78 East Broadway. I hope you enjoy tying and fishing this fly!
Dave
![P1010202[2]](https://www.pacificangler.ca/wp-content/uploads/2012/11/P10102022-150x150.jpg)

